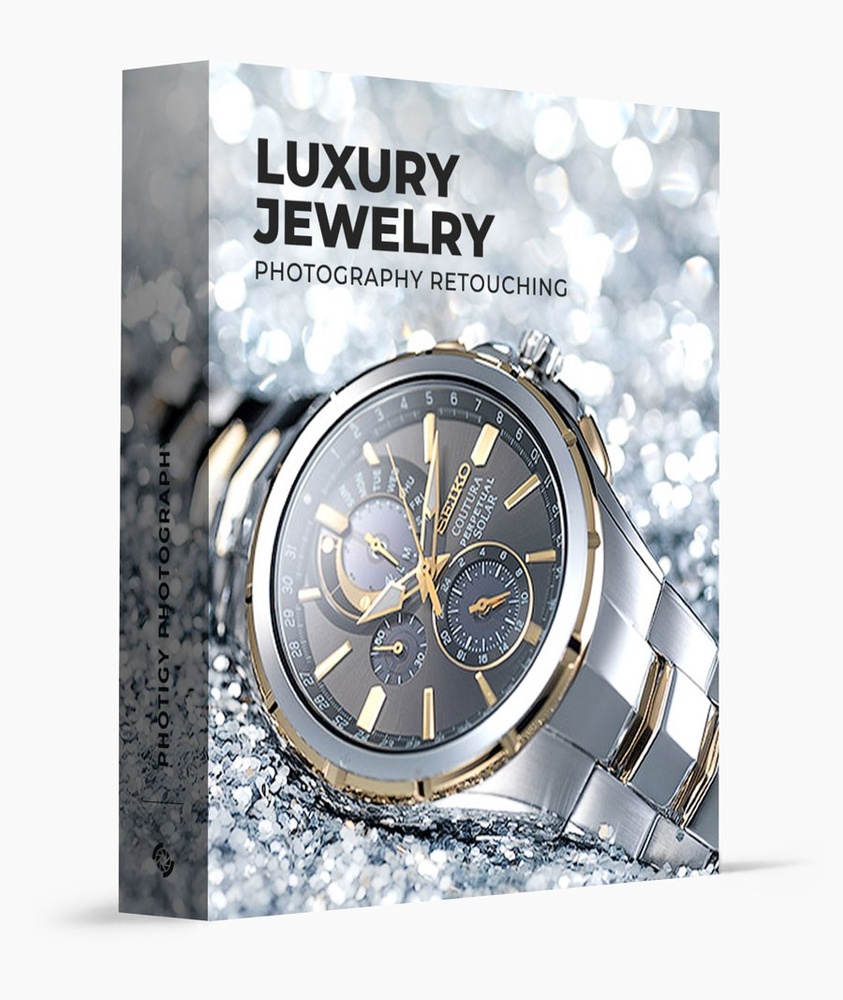
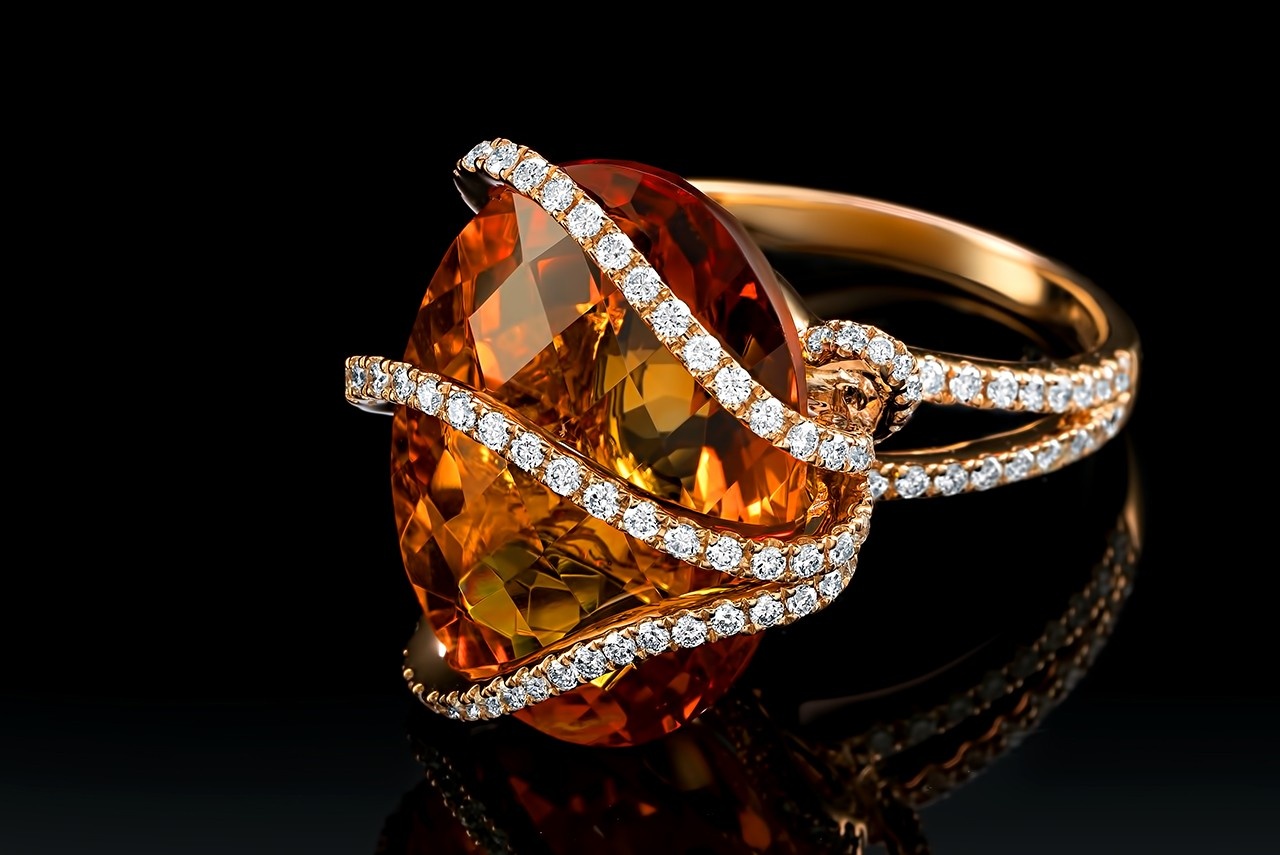
Luxury Jewelry Photography Retouching
$379
Learn how to retouch luxury jewelry using Photoshop so you can get commercial-quality, high-end results from your jewelry shoots.
Buy NowThis course is for you if…

You lack experience with the intricacies of jewelry retouching.
You don’t have the budget to hire a retoucher and want to do it yourself.

You’ve struggled to get professional results in the past.
Capture incredible shots without spending thousands of dollars on gear.


Take images and transform them into masterpieces that stand out.
Follow along on a number of different projects so you can achieve incredible results in your own work. You’ll learn how to create reflections, control light, composite multiple images, and much more. Whether you are just getting started or you are a more experienced photographer, a pro workflow in retouching will accelerate your journey to success!
GET STARTED"Jewelry post-production is all about perfection. Overlooking even the smallest defect in your image can cost you business. In this course, I teach you all of the retouching techniques you will need to create flawless jewelry images."

Alex Koloskov
Lessons
25
Length
10h 41m
Level
Beginner
Curriculum
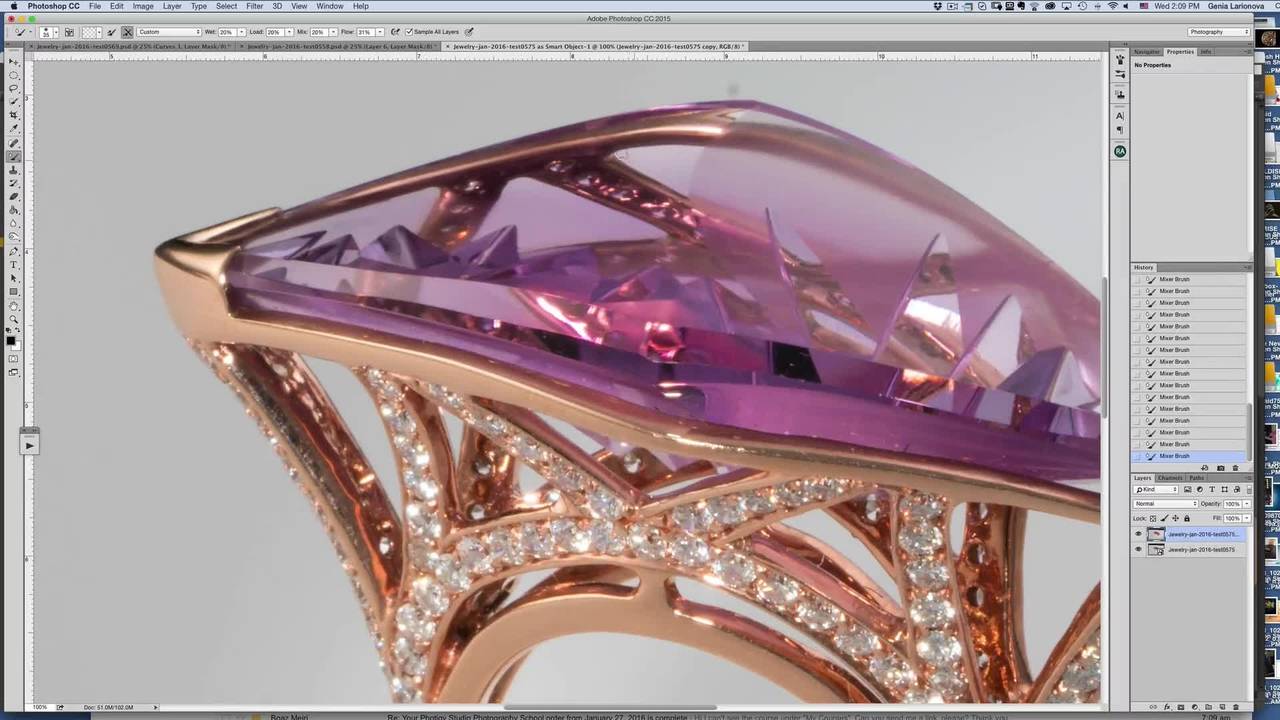
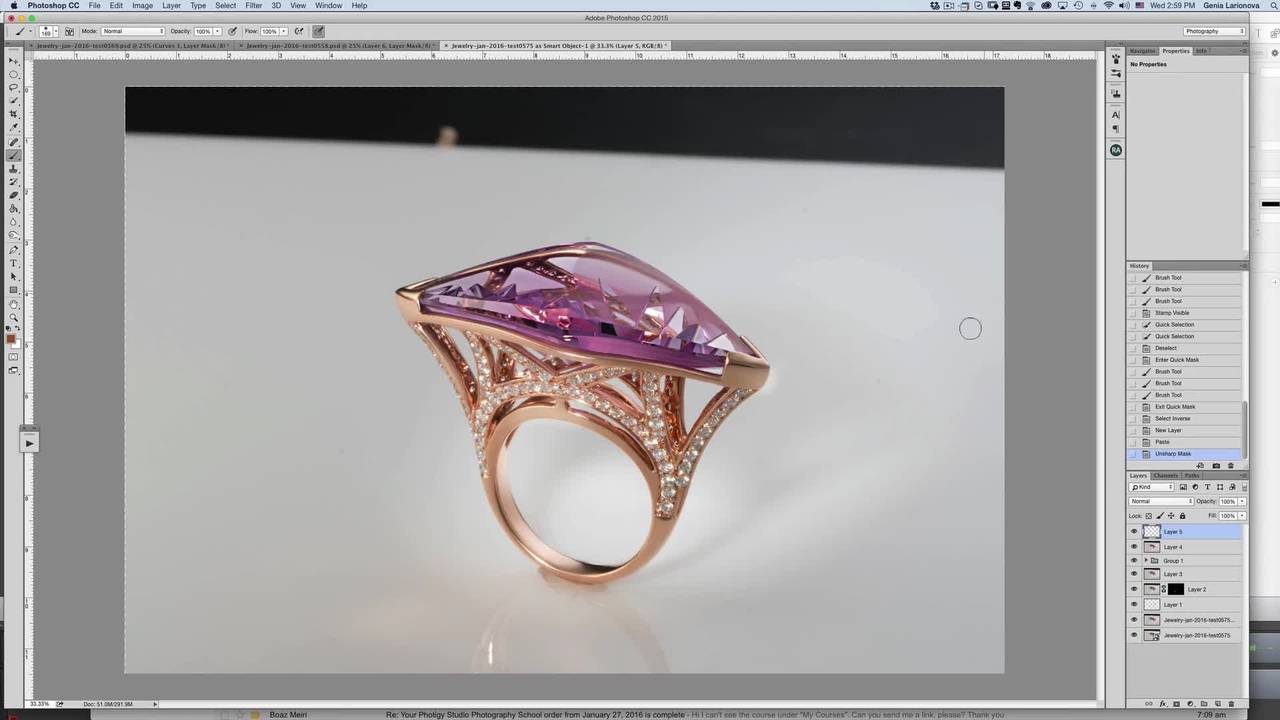
Purple Ring, Part 1
In this multi-part lesson, we’ll learn techniques in Photoshop to clean, add shadows and highlights, paint in needed details, and other effects to achieve a finished image.
Purple Ring, Part 2
Learn Photoshop to clean the ring and address some highlights and shadows.

Purple Ring, Part 3
Learn how to select diamonds with Quick Mask to sharpen and brighten them with adjustments.
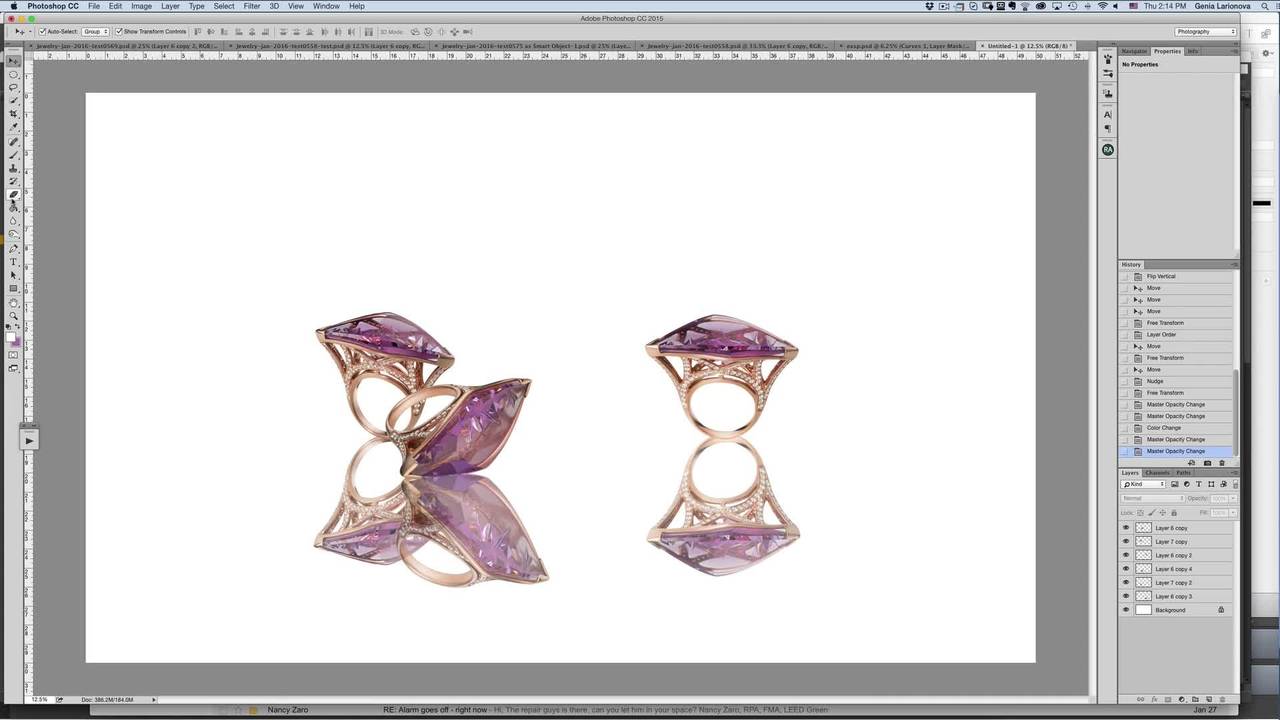
Purple Ring, Part 4
In this lesson, we combine three rings by using various compositing techniques to achieve an aesthetic final composition.

Purple Ring, Part 5
We create reflections and adjust them to be realistic and add a background with various visual effects to create eye appeal in the final image.

Green Ring, Part 1
In this multi-part lesson, we start out in Camera Raw to get the most out of the image, then create a Smart Object to preserve our ability to make changes.
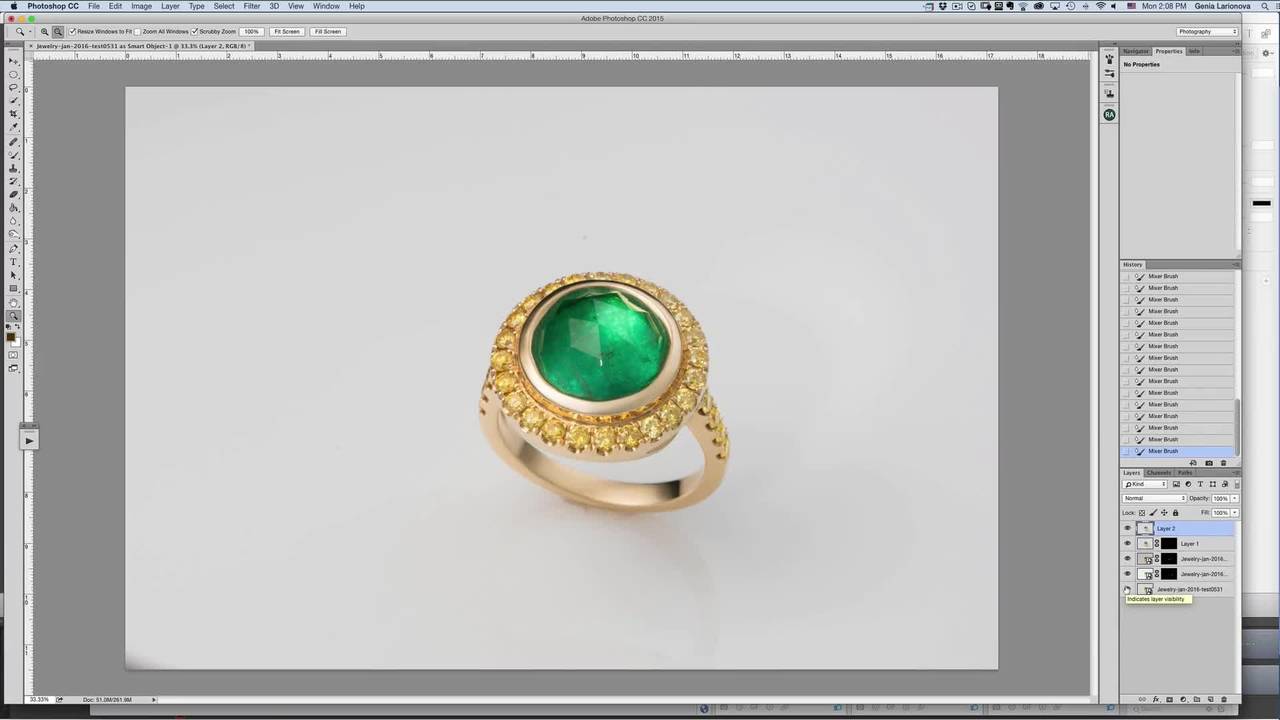
Green Ring, Part 2
After combining the adjustment layers, we begin cleaning the stone and the metal.

Green Ring, Part 3
We next clean and address other issues with the stone. Stones are then quick-masked and sharpened to the desired level.

Green Ring, Part 4
Genia cuts out the ring and places it on a white background.

Green Ring, Part 5
We create reflections and shadows to sharpen the image and conclude by using a plug-in to apply the finishing touches.

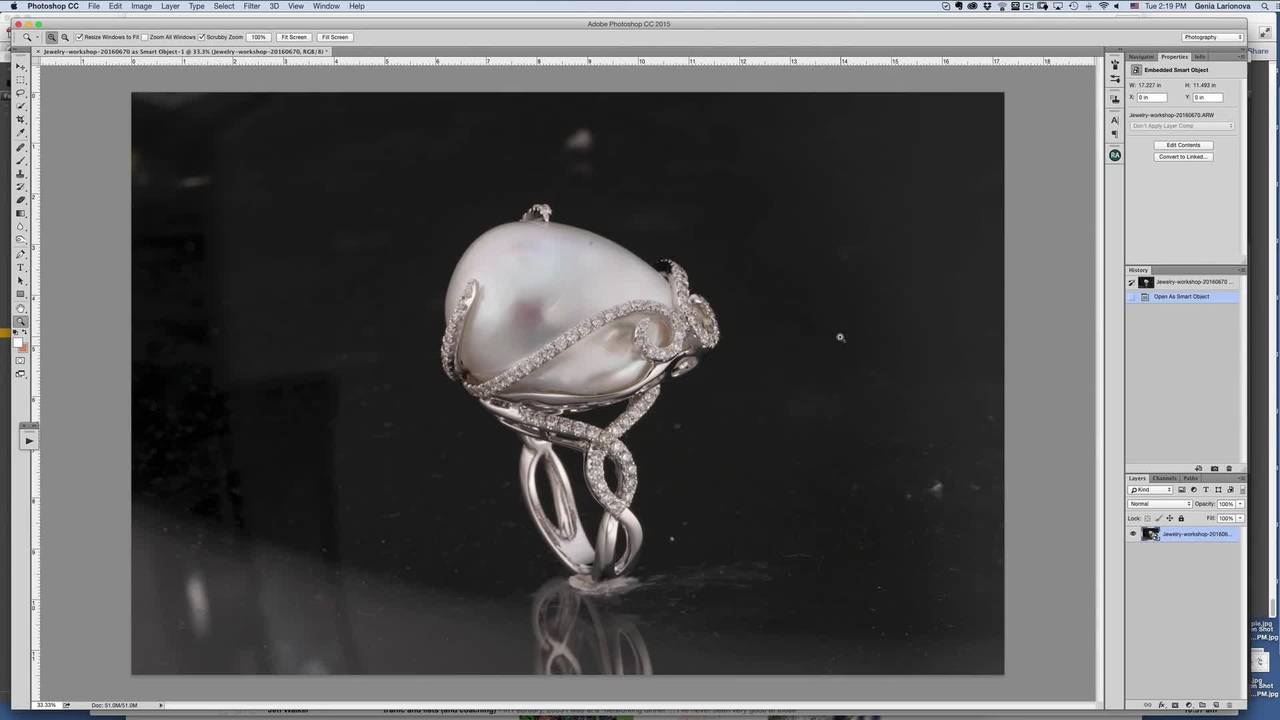
White Pearl Ring, Part 1
In this lesson, we demonstrate how to clean the pearl and the metal for the ring.
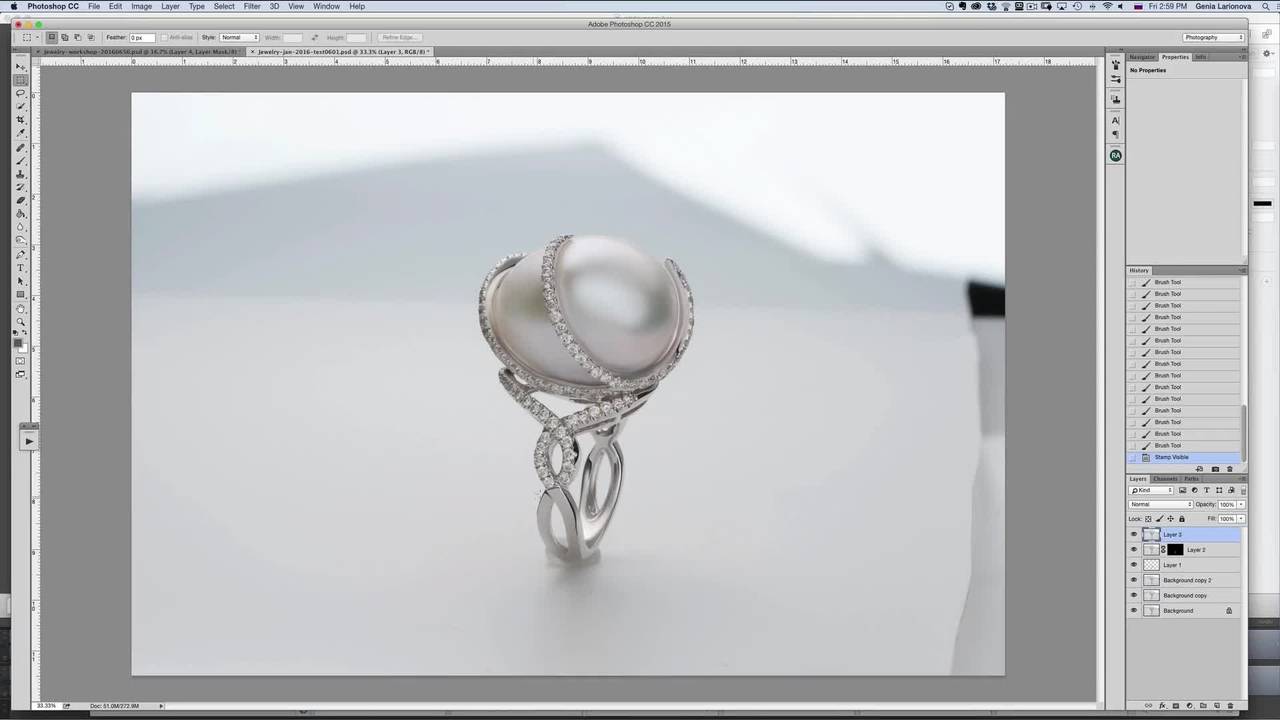
White Pearl Ring, Part 2
We refine the metal highlights and reflections for the pearl ring and employ some Liquify to improve the shapes.

White Pearl Ring, Part 3
We open another finished pearl ring image and create balanced colors using a Quick Mask selection with various adjustments to prepare for a multi-ring composite image.

White Pearl Ring, Part 4
Learn to further adjust the pearl, diamonds, and metal colors to balance the colors with the second ring image then to enhance the highlights and shadows using Curve adjustments.
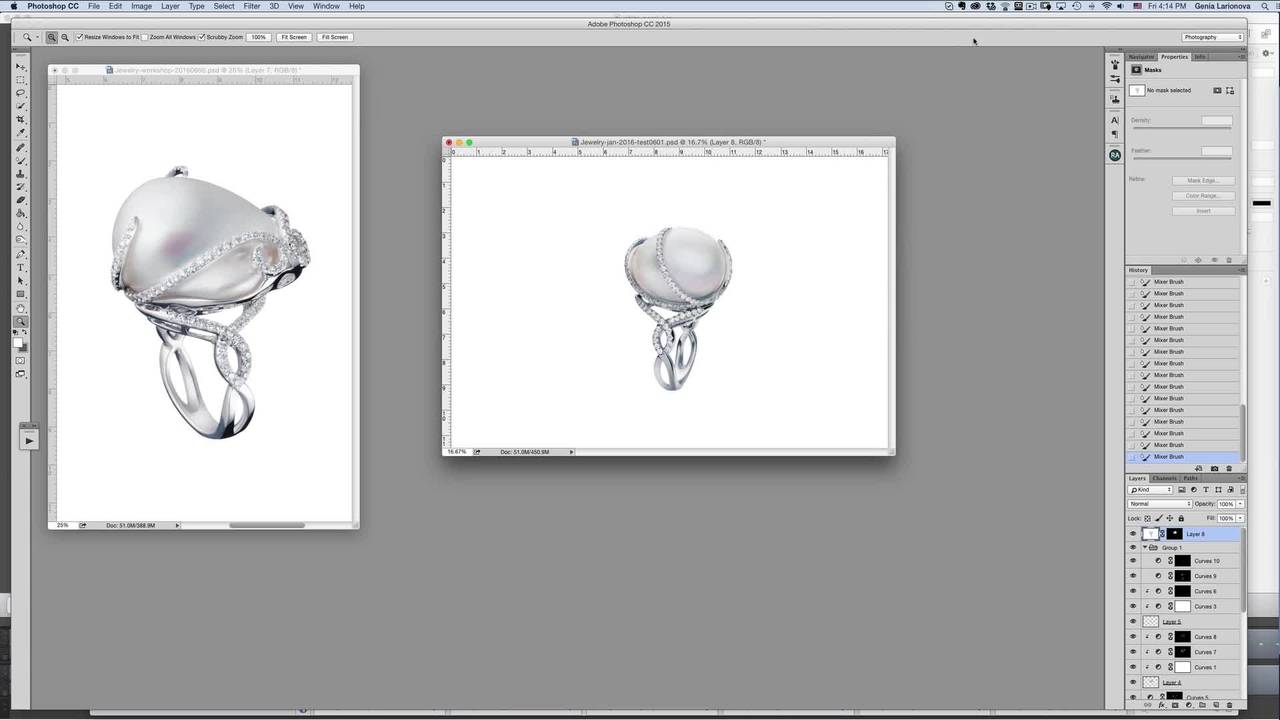
White Pearl Ring, Part 5
Uses the Mixer Brush in Photoshop to further smooth the pearl surface and match it with the other image.
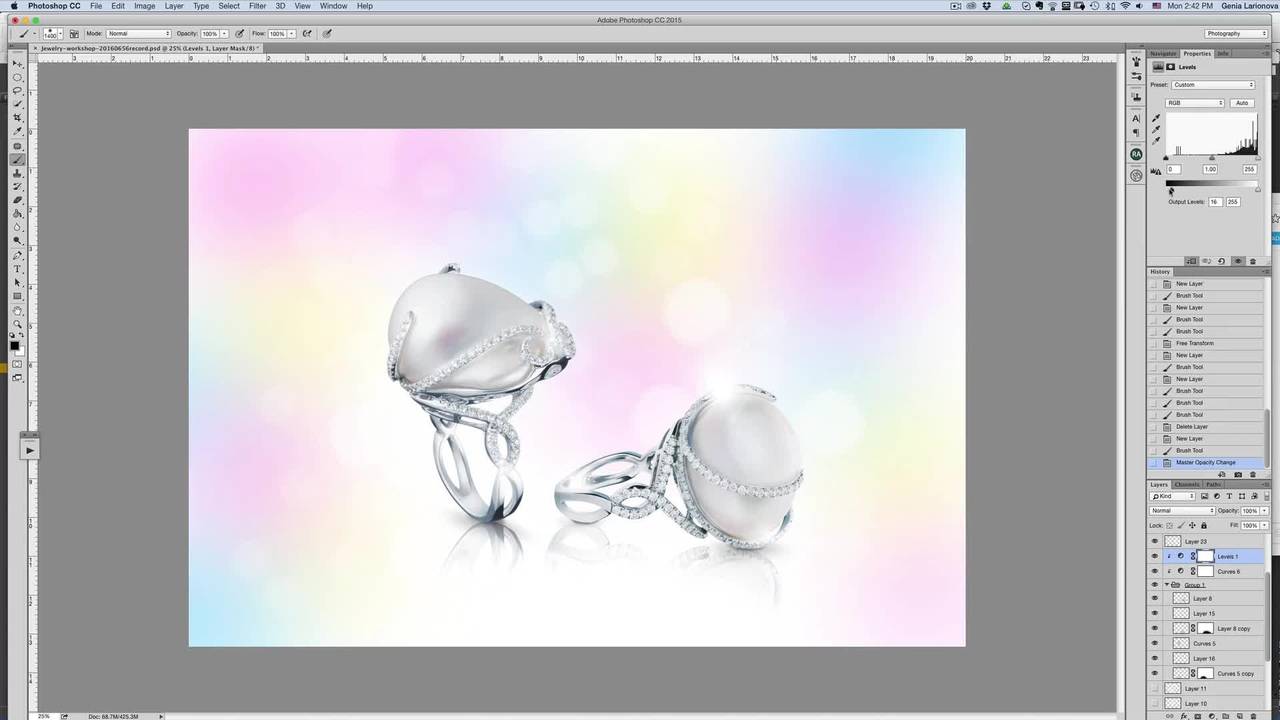
White Pearl Rings, Part 6
In this lesson, we combine two separate views of the pearl ring by compositing them together and then adding a background and sparkles to complete the image.

Earrings, Part 1
In this multi-part lesson, we combine the best parts of shots with both black and white background images.

Earrings, Part 2
Learn to fix the dark diamonds using cloning and address diamond brightness, contrast, and sharpness using Quick Mask selections with various adjustments.

Earrings, Part 3
Finally, learn to assemble the various parts to complete the finished earrings.

Earrings, Part 4
Learn how to add realistic reflections, lighting effects, and a beautiful background. Also, the final steps needed when finalizing an image.
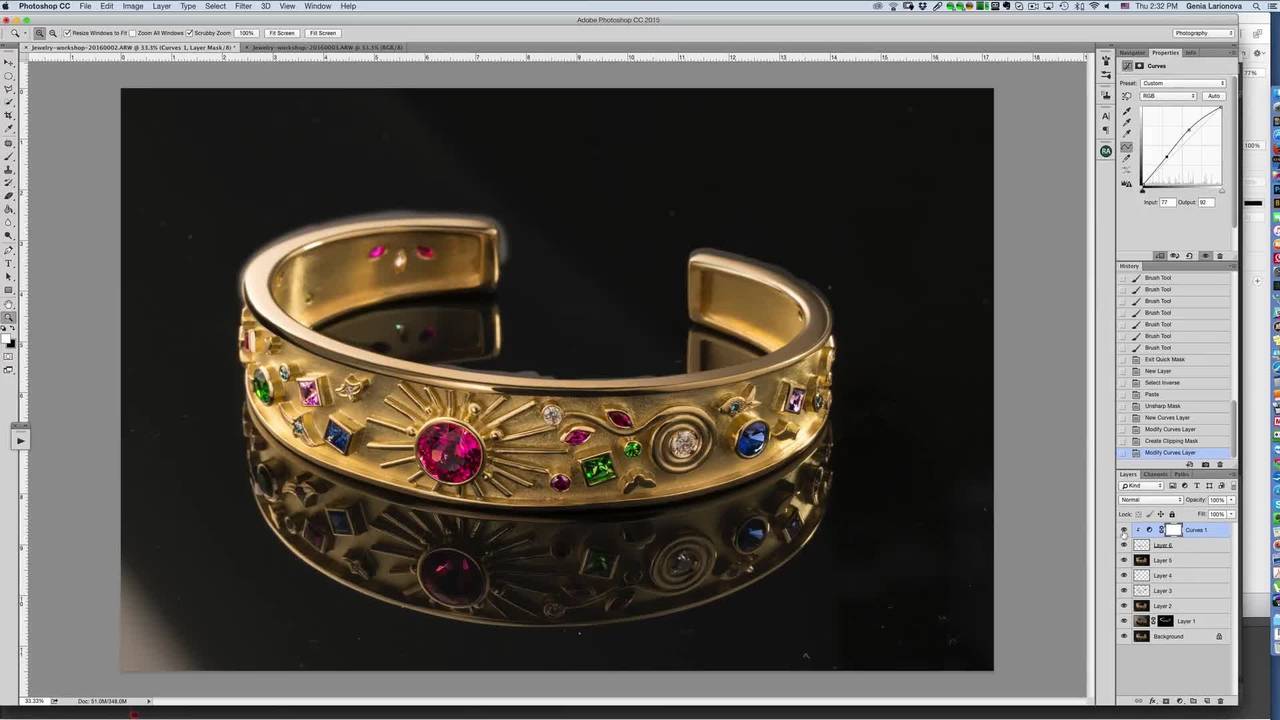
Bracelet, Part 1
In this multi-part lesson, learn to compose two bracelets shot together to add lighted areas not possible with one image. Then clean the metal with brushwork and make Quick Mask selections of the s...

Bracelet, Part 2
In Part 2 of this lesson, learn the Pen tool to extract the bracelet and place it on a background. Finishing up by adding shadow and highlight adjustments using Curves adjustment.
Black Pearl, Part 1
Learn to process the pearl ring with a black background.

Black Pearl, Part 2
In Part 3 of this lesson, learn to clean and touch up metal with brushwork and perform color corrections on the metal. Then proceeds to retouch the diamonds and pearl using Curves.

Black Pearl, Part 3
To complete the pearl ring retouch, we use the Pen tool to cut out the ring and create a gradient background. Create a reflection and add a shadow.
Hear What Photographers Have to Say…
“I’m confident at getting the right shot but my retouching hasn’t been up to par. This course was incredible! I learned so many little tricks and tips that have been game-changing with my work!”
- F.N.
I’ve been wanting to stop outsourcing my retouching to speed things up and save money. This was the perfect training to make that a possibility! Thanks Genia!!!
- H.C.
I’ve struggled and struggled with getting professional-looking edits and never managed to nail it. This course gave me the exact tools and workflow I need.
- W.L.

Luxury Jewelry Photography Retouching
$379
Learn how to retouch luxury jewelry using Photoshop so you can get commercial-quality, high-end results from your jewelry shoots.
Buy Now